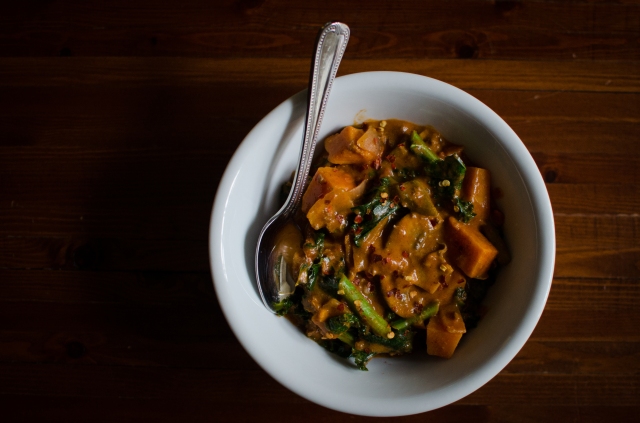
African Peanut Stew

DSC_8060

Okay, don’t get too excited.  Although we would love to say that TheshoeboxKitchen is coming out of retirement, well, we’re not quite ready for that.  But, while chasing around our 3 and almost 1 year olds tonight, we did manage to whip up a delicious stew that we would be remiss not to share with you.

DSC_8090

If you’re pretty much anywhere in the U.S. right now, well, IT’S COLD.  Around Atlanta fall has quickly blurred into winter, without much warning.  When the fire is crackling in the fireplace and you want to feel that same cozy warmth in your belly, this is the stew you want to make–trust us.  Hearty and savory with a thick, stick-to-your-soul sauce, at first glance this may seem like an old favorite from your childhood.  But this ain’t your momma’s winter stew–the ginger and peanut butter combination are sure to get your taste buds singing a new tune, while the hearty potatoes, mushrooms, and beef make you feel like you never left home sweet home.

African Peanut Stew (adapted from The Joy of Cooking cookbook)

  • 2 small cans tomato paste
  • 2 16 oz cans diced tomatoes, with liquid
  • 1 pound ground beef (or stew meat, if you just finished splitting firewood)
  • 3 large sweet potatoes, peeled and chopped into bite-size cubes
  • 1 carton sliced mushrooms
  • 2 cups kale, roughly chopped
  • 1 onion, diced
  • 1 bellpepper, diced
  • 1 jalepeno, diced (keep the seeds if you want an extra kick)
  • 4 cloves garlic, diced
  • 2 tbs olive oil
  • 1 tbs fresh ginger, finely grated with microplane
  • 1 tbs chili powder
  • 2 tsp cumin
  • 1/2 cup peanut butter

In a pan, brown the meat and drain; set aside.

In a large pot or dutch oven, saute the onion and peppers in the olive oil.  Add garlic and ginger, saute for 2 more minutes.  Incorporate the spices and tomato sauce/paste, then add the sweet potatoes and mushrooms.  Add enough water to cover the vegetables.  Simmer for 45 minutes to 1 hour.

After simmering, ladle out about 1/2 cup of the broth and whisk with the peanut butter until fully combined, then add the peanut butter mixture and beef to the stew.  Simmer for 10 more minutes or so, or until the beef is cooked through and the potatoes are soft (if you’re using stew meat, you may want to add the beef earlier).  We like to add the kale about 10 minutes prior to serving so that it still has some crunch to it, adding texture and interest to the stew.

DSC_8060-2

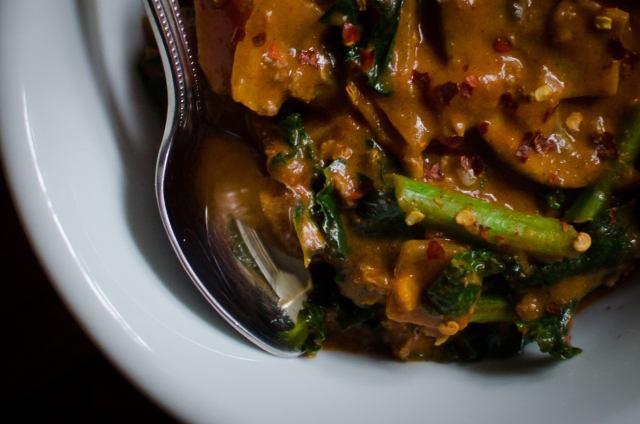
This stew is great served over brown rice or just ladled straight into a tall bowl.  We like to sprinkle red pepper flakes over the plated stew for an extra pop on the tongue.  You’re gonna want seconds for sure.

Happy stewing!

Posted in Uncategorized | 2 Comments

Salsa Verde

Image

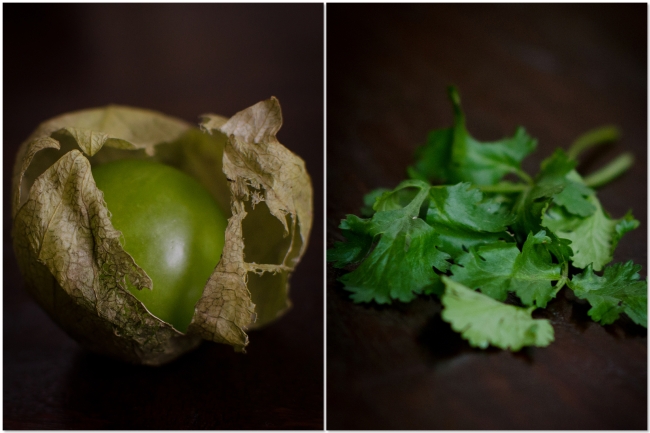
In keeping with Cinco de Mayo, and to make use of the abundant harvest of cilantro from our garden, we offer for your consideration a simple and delicious salsa verde.  As with most salsas, fresh ingredients are key.

Salsa Verde

  • 1 lb fresh tomatillos
  • 1 large white onion
  • 3 cloves garlic
  • 1 packed cup chopped fresh cilantro
  • 1 jalapeno (you decide whether you want the heat of the seeds)
  • 1/2 lime, juiced
  • 1 tablespoon white vinegar (this ingredient is a bit controversial in traditional salsa circles, but we like it)
  • 1 tsp cumin
  • Kosher salt to taste (start with 1/2 tsp – remember, chips are salted)

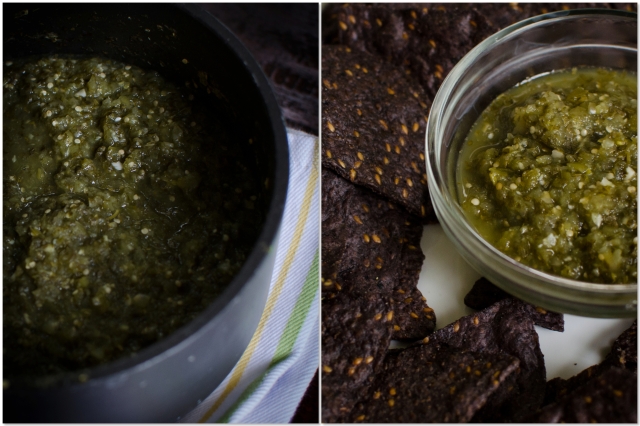
Husk, wash, and quarter the tomatillos.  Rough chop the onion, garlic, and jalapeno.  Add all ingredients to a food processor and process until smooth.  Transfer to a saucepan and simmer for about 15 minutes, until reduced to desired consistency.

salsafinished1

Enjoy with your favorite corn chip or, even better, spooned on top of carne asada.

Feliz Cinco de Mayo!
* Editor’s Note: Second day discovery: letting this already yummy salsa sit in the fridge overnight deepens and improves the flavor fourfold!

Posted in Recipes, Savory, Uncategorized | 1 Comment

Public Service Announcement

Hi stranger.  Okay, so maybe we’re the strangers here.  Two kids under 2 will do that to you.  Our apologies.  But somehow in the midst of the madness we just had to get this very important information out to the public . . .

Sometimes the best recipes are the most simple – those tried and true recipes that your mom still uses and has memorized and can’t remember where they came from in the first place.

This is one of them – we just gave it a very slight facelift.

DSC_4954-2

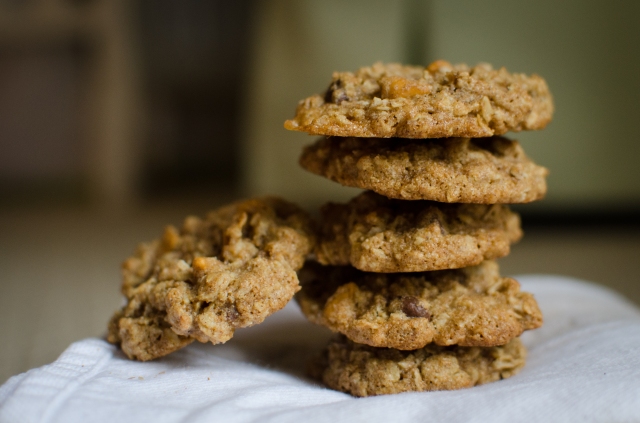
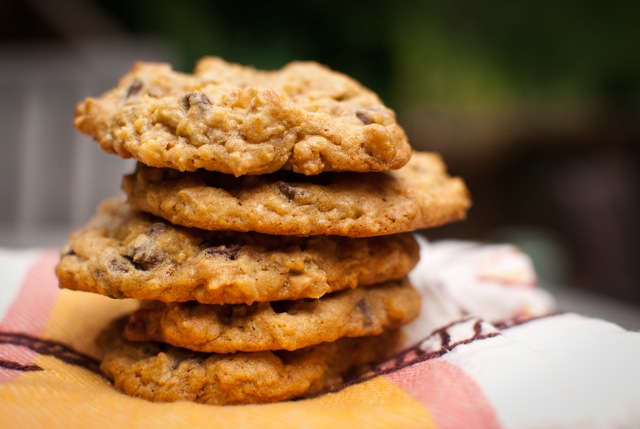
These are oatmeal cookies made using the recipe straight from the Quaker Oats box.  We simply substituted freshly milled hard red wheat flour for the AP flour and, since Jason refuses to eat raisins unless they come straight from a box, we threw in a mixture of chocolate and butterscotch chips instead.

The results knocked our socks off.

So go make these, we implore you.  We won’t even waste your time by posting the recipe here – just go Google it and get baking!!

Okay, back to the craziness . . .

Posted in Uncategorized | Leave a comment

The Summer Tart Reconstructed (or, a Blackberry & Fig Tart)

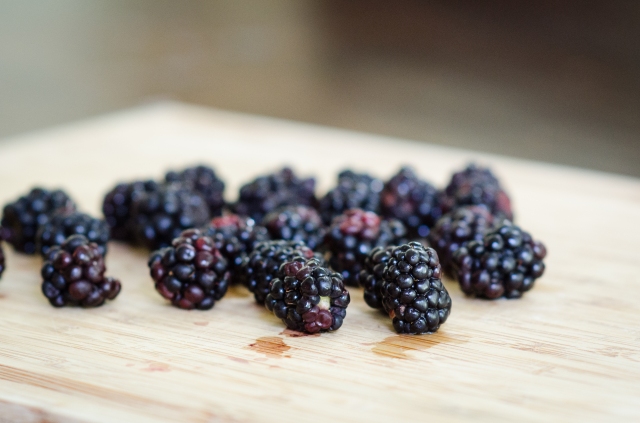
What do you do when the blackberries are almost out of season and you’ve rescued one last bunch from the farmer’s market . . .

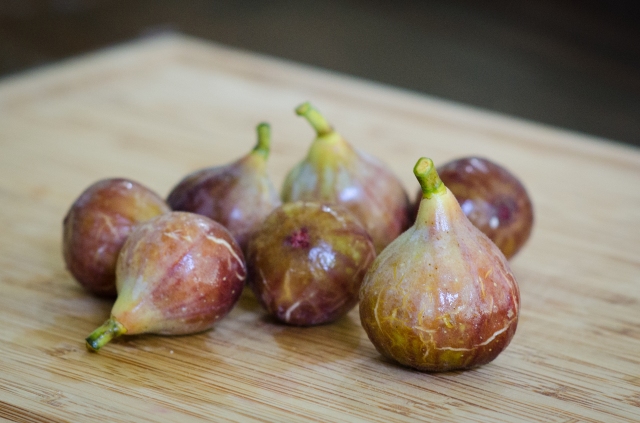
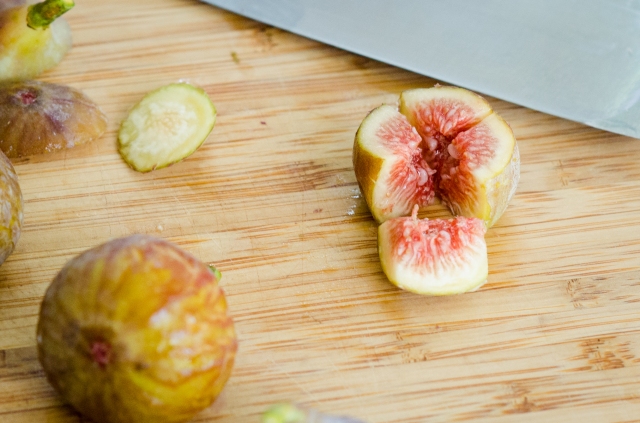
And in the same week your good friends give you some fresh figs plucked right off the trees in their backyard?

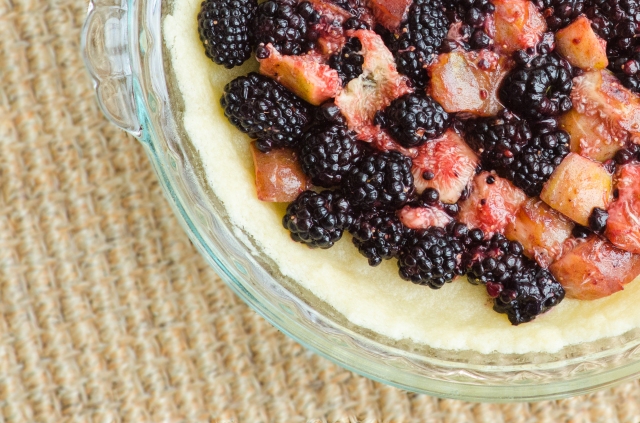
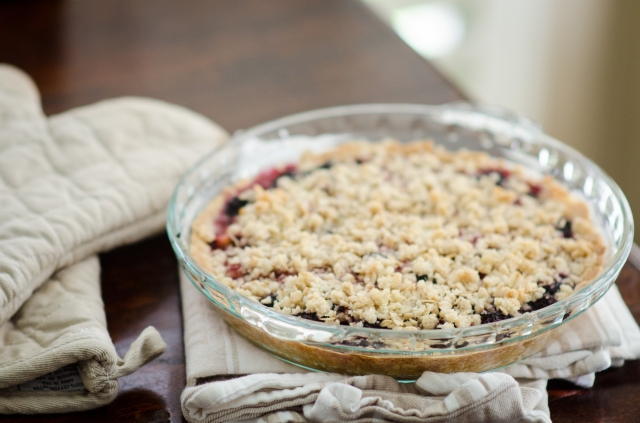
Well, of course you turn back to TheshoeboxKitchen archives and stumble upon this post,  then immediately decide to simply swap the peaches and blueberries for figs and blackberries and make yourself a summer tart!  Genius!

If you happen to have figs and blackberries lying around – or any combination of fruit and berries, for that matter – then follow the recipe from this post and make yourself a summer tart.  It’s really easy and incredibly rewarding – we promise.

If you are fortunate enough to have friends with a fig tree (thanks Brett & Katie!!), prep the figs by cutting off both ends then quartering.  For this tart, we used about 1 cup each of blackberries and quartered figs.

Soon the neighbors will be knocking on your door (they did for us! okay, it wasn’t because of the tart, but we gave them some anyway) because the sweet, buttery aroma of this tart cooling on your dining room table is driving them crazy.

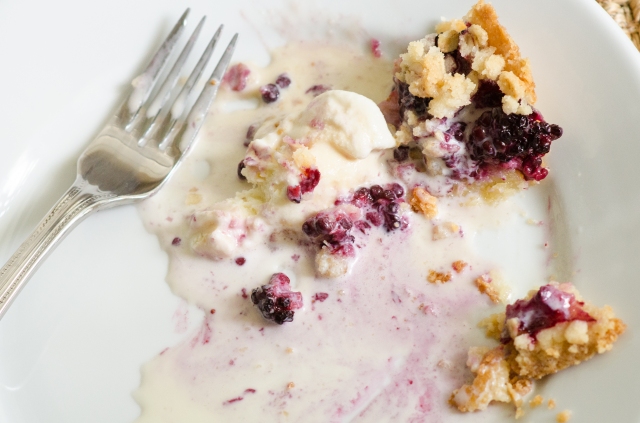
We highly recommend serving this tart with a scoop (or two) of really good ice cream.  We used Jeni’s Brown Butter Almond Brittle, which complimented the buttery crust of this tart perfectly.  If you can’t buy Jeni’s ice cream where you live, well then make it yourself!  And fortunately you now can with ease, thanks to Jeni’s new book (no, we don’t know Jeni and she has no idea who we are – we just reeeeally love her new cookbook and we want you to have it too so we can talk with more folks about how good the book and the ice cream you make from it is).

So, what are you waiting for?  Summer is slipping away!  Go make this tart and we’ll savor together these last hot, muggy nights of summer – with happy bellies.

P.S. Brett, of Brett & Katie’s figs featured in this post, is a fellow math teacher and friend of Jason’s.  Brett has a really cool (read: geeky) math blog.  You must check it out if you like geeky math blogs (it’s okay – embrace your inner nerd) and want to be challenged to think outside the box a bit when it comes to math education.

Posted in Uncategorized | 7 Comments

A Sneak Peek into TheshoeboxKitchen

I first have to say that this attempt at videography (our first) was inspired by our food blog heroes over at notwithoutsalt.  If you want to go see some extremely artistic foodies who really know what they’re doing (and post much more regularly than we do), go check them out.  Ashley and Gabriel, you truly inspire us!

Now, without further ado, here’s a little peek into our world.  This was a simple meal – BLTs – prepared for Jason’s mother, affectionately referred to now by her grandmother moniker, “LaLa.”  We hope you enjoy.

Posted in Uncategorized | 5 Comments

Strawberry Ice Cream

It’s summer.  That means at least two things:

1) Time to catch up on blog posts

2) Strawberry ice cream

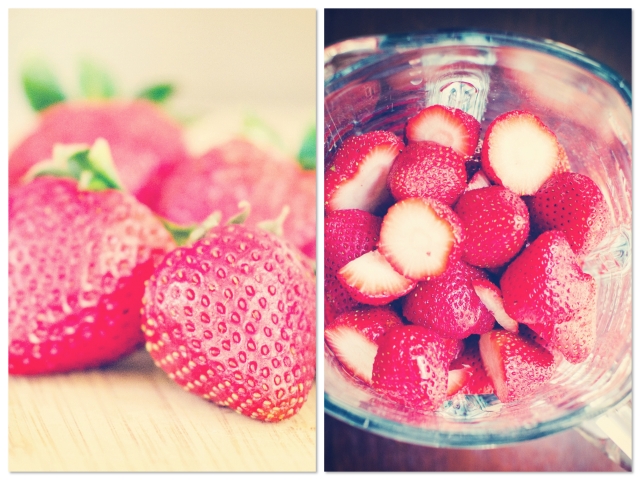
There is nothing quite like fresh summer strawberries.  But fresh summer strawberry ice cream?  To. Die. For.

So, without further ado, here’s how you, too, can make this magic happen in your kitchen.

Strawberry Ice Cream

  • 2 cups strawberry puree (I wish I could tell you how many strawberries it takes to make 2 cups of puree – we overestimated and ended up making 4 cups of puree – no worries if you make more than 2 cups, we’ll show you what to do with the leftovers in a minute)
  • 2 cups half and half
  • 2 cups heavy cream
  • 1 cup white sugar
  • 1/4 teaspoon salt
  • 2 teaspoons pure vanilla extract
  • 1 1/2 tablespoons corn starch (instead of using egg yolks – so I guess this is more like a gelato)

Puree enough strawberries in your blender to make two cups of puree.  We left ours a little chunky so we’d have small bits of strawberry in the ice cream.  Set aside. 

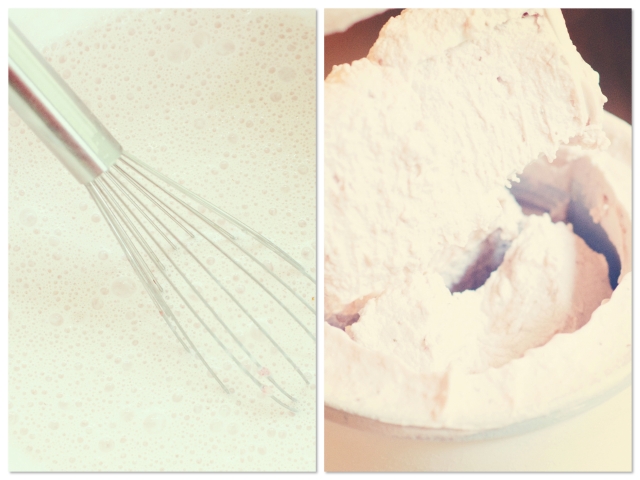
In a mixing bowl, whisk the corn starch into the half and half until it is dissolved.  Add the salt and whisk to incorporate.  Now add the strawberry puree and whisk to incorporate.

In a medium saucepan, whisk together the sugar and heavy cream, then bring to a hard simmer, whisking frequently.  Once the mixture is simmering, remove from the heat and add the contents of your mixing bowl, whisking constantly, then return the saucepan to the heat and whisk frequently until the mixture begins to simmer.  Continue to whisk over the heat about 5 minutes after the mixture has started to simmer, or until you feel the mixture thickening and it begins to coat the bottom of the saucepan.  Transfer mixture to a bowl which is placed in an ice bath (ice bath?  huh?  click here to read about preparing an ice bath!) and continue whisking until the mixture no longer steams.  Whisk in the vanilla extract, then cover the bowl with plastic wrap and refrigerate 5 hours or overnight.

Once chilled, churn the mixture in your ice cream maker according to the ice cream maker’s instructions (usually about 20 minutes).  Scoop the ice cream into a container, cover, and return to the freezer to allow it to harden, about 3-4 hours.

Due to the water added by the strawberry puree, it is best to let this ice cream stand at room temperature for about 15 minutes before scooping.  That is, if you can wait that long.

Oh, what to do with that extra strawberry puree?  Make strawberry puree pops, of course!

Alice whole heartedly approved of this use for the extra puree.

Happy summer!!

P.S. If you’re not into hip photo filters, here’s the true color of this delicious ice cream:

Posted in Uncategorized | 4 Comments

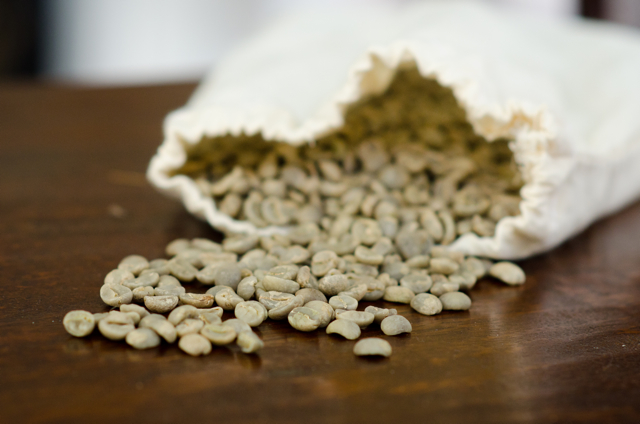
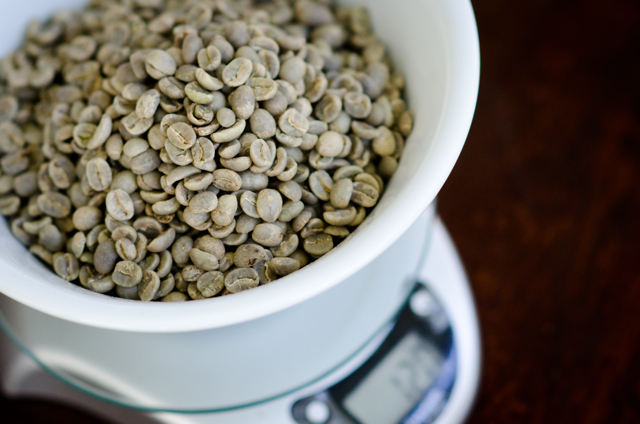
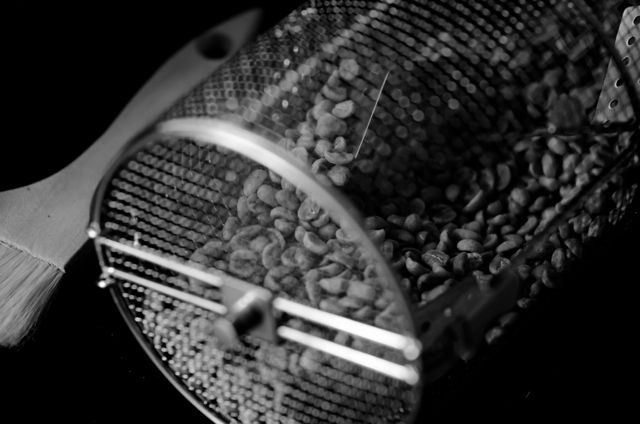
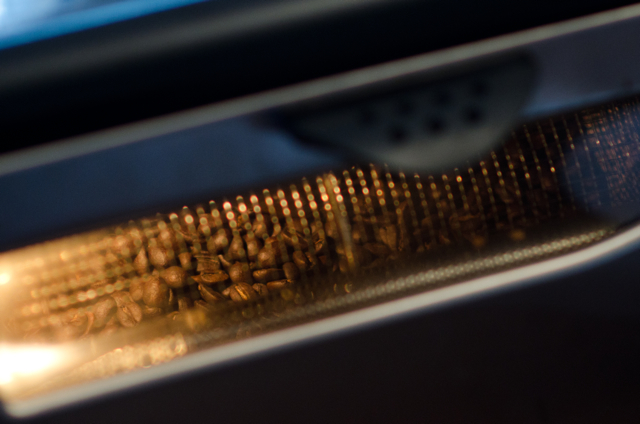
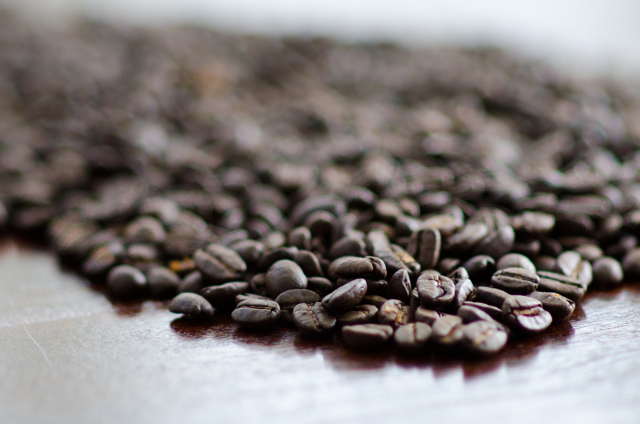
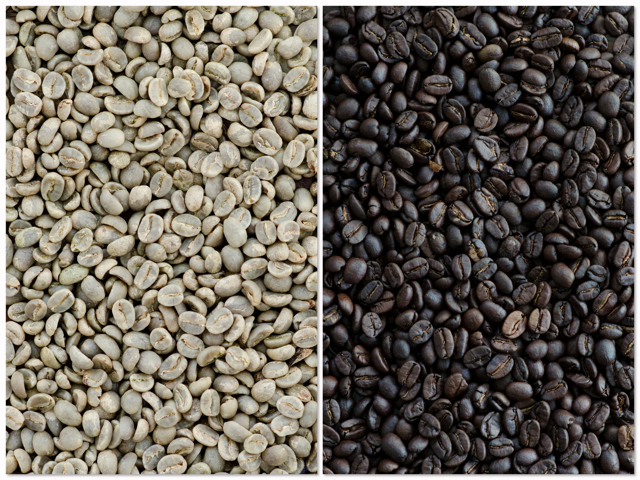
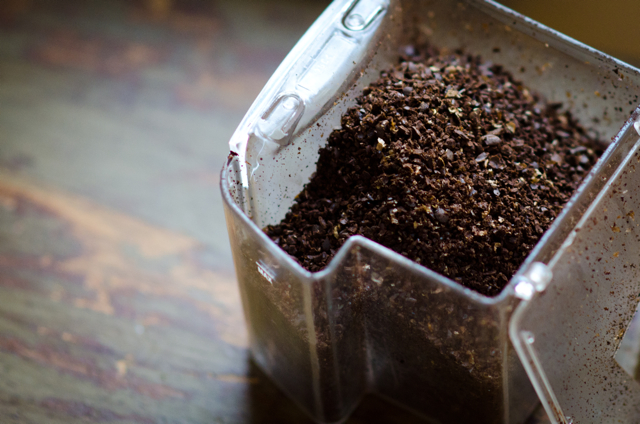
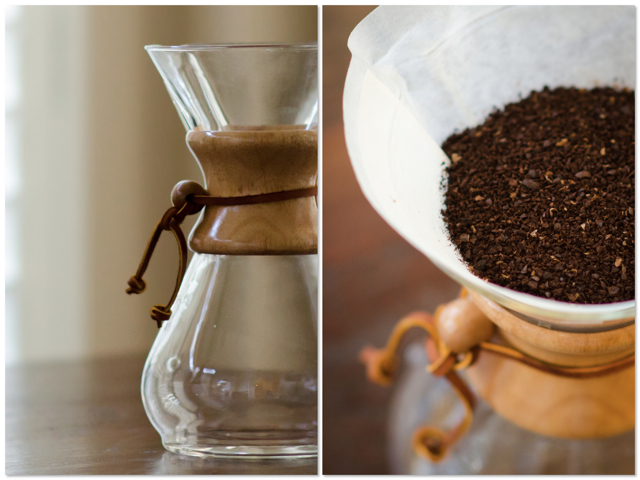
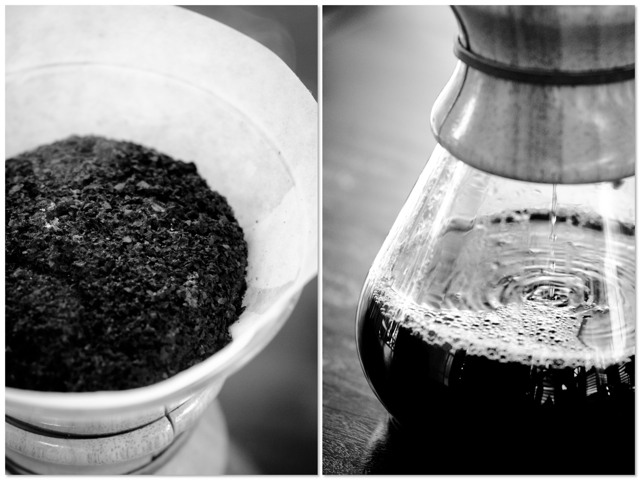
The Perfect Cup of Coffee

The following photo essay is dedicated to Tobias Riggs, who gave me my first perfect cup of coffee.

Come share a cup of coffee with us some time.

Editor’s Note: If you love coffee like we do, start investing in the equipment you’ll need to make the perfect cup at home yourself (or add these items to your Christmas list like we did!).  We use the Behmor 1600 Coffee Roaster, a Breville Conical Burr Grinder, and a Chemex 8-Cup Drip Coffee Carafe.  No, these companies don’t send us any money – we just like their products.

Posted in Recipes, Savory | Tagged , , , | 4 Comments

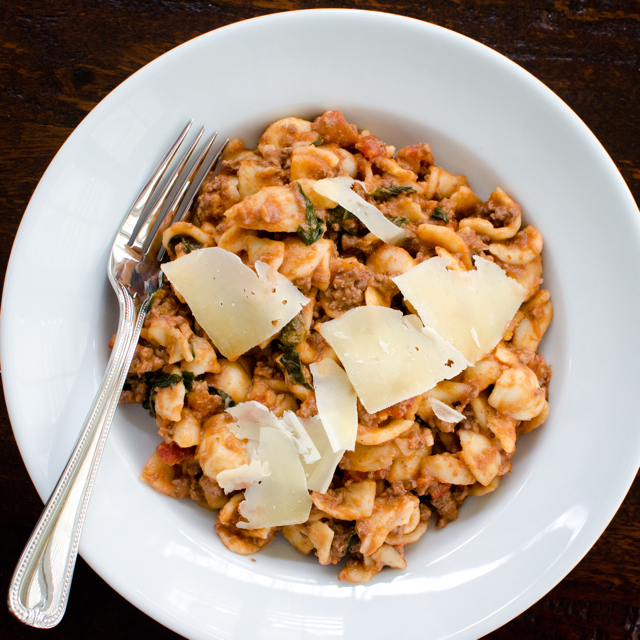
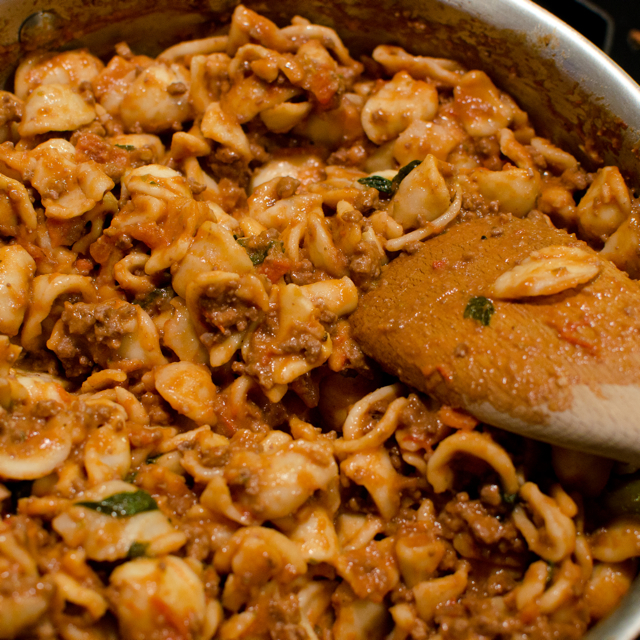
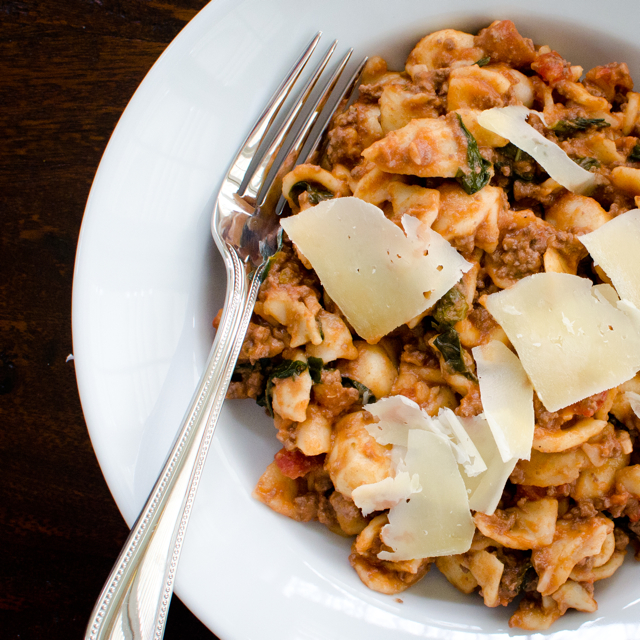
Beef Bolognese with Orecchiette

Hello there!  Remember us?  Well one of our New Year’s resolutions here in the shoebox is to get our blogging frequency back up to a respectable level.  It will be tough (even as I type this, our seven month old is trying to dive head first into the keyboard), but we are determined!

So now that January is here and we’ve had enough turkey and beef tenderloin to last us for a while, we thought this weekend that we’d turn to a different kind of comfort food.  Thanks to the inspiration of our cousins in St. Louis, Paul and Emily, we’ve grown to really like a good bolognese sauce.  The particular bolognese sauce they prepared for us was so complex and diverse in flavors, contained four different types of meat including pork belly, and was – in a word – unforgettable.  They gave us a copy of the cookbook from which the recipe was taken (Frank Stitt’s Bottega Favorita, a beautiful book which we have only begun to sink our teeth into), and my dad and I made it over the Christmas holidays in Augusta.  It was a labor of love, indeed, but completely worth it.

But we wanted something a little less involved on a lazy Saturday night, so Ina’s voice called from our pile of cookbooks to answer our craving.

Beef Bolognese with Orecchiette (from Ina Garten’s How Easy Is That?, with slight modifications)

  • 2 tablespoons olive oil, plus extra for pasta
  • 1.5 pounds lean ground beef (Ina calls for just 1 pound, but we wanted our sauce meatier – this is where you can get creative and mix up your meats – adding pork is always a good choice)
  • 4 garlic cloves, minced
  • 1 tablespoon dried oregano
  • 1/4 teaspoon crushed red pepper flakes
  • 1 1/4 cups dry red wine
  • 1 28-ounce can crushed tomatoes, preferably San Marzano
  • 2 tablespoons tomato paste
  • 1 tablespoon kosher salt, plus more for pasta
  • 1 1/2 teaspoons freshly ground black pepper
  • 1/4 teaspoon freshly ground nutmeg
  • 1 cinnamon stick, halved (this is not in Ina’s recipe, but was in our cousins’ bolognese, and we just love the subtle complexity this adds)
  • 1/2 cup fresh basil leaves, chopped and divided into two equal portions (this is twice as much as Ina uses, but we like to stir another handful of basil in just before plating)
  • 1/4 cup heavy cream
  • 1/2 cup freshly grated Parmesan cheese, plus extra for serving
  • 1 pound oreccheitte (or small shells, or fettucini)

Heat the olive oil in a large (12-inch) skillet or saute pan over medium-high heat.  Add the ground beef and cook, crumbling the meat with a wooden spoon, until meat has started to brown.  Stir in the garlic, oregano, and red pepper flakes and cook for another minute.  Pour 1 cup of the wine into the pan and stir to scrape up any browned bits.  Add the tomatoes, paste, salt, and pepper, stirring until combined.  Bring to a boil then lower the heat and let simmer for about 10 minutes.

While the sauce is simmering, go ahead and starting bringing your water for the pasta to a boil in a large pot.  Be sure to add a tablespoon of salt and splash of olive oil to the water.

After the sauce has simmered for about 10 minutes, add the nutmeg, cinnamon, half the basil, cream, and the remaining 1/4 cup of wine to the sauce.  Simmer 15 – 20 minutes, stirring occasionally, until thickened.  You’ll want to start cooking your pasta when you’re  sauce is just about to your desired thickness.  Cook the pasta until al dente.

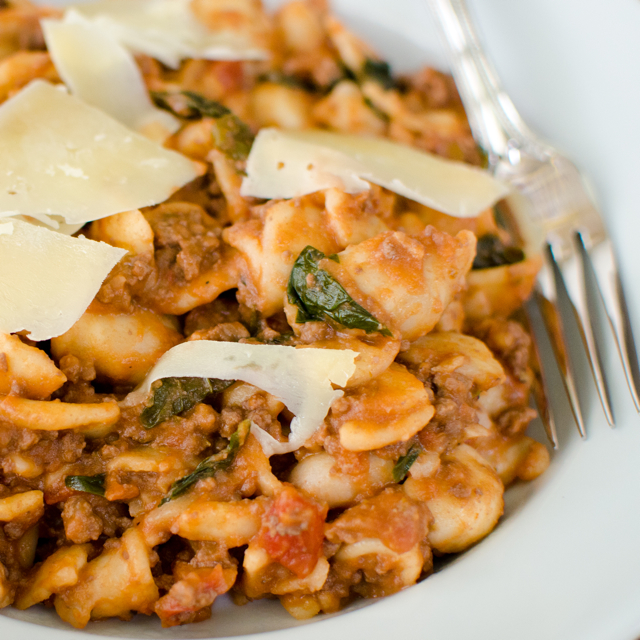
Fully drain your pasta and then stir all of it into your sauce, along with the 1/2 cup of grated Parmesan and remaining basil.  We like to grate large slices of Parmesan on the top after plating.

This dish is stick-to-your-ribs meets gourmet Italian.  Translation: comfort food that will make you raise your eyebrows.

The spice combinations in this sauce are just spectacular.  The heartiness of the beef is brought to life by the slight sweetness of the tomatoes, the complexity of the wine (we used cabernet), the tiny kick from the pepper, and the almost Fall-like notes from the cinnamon and nutmeg that play quietly but noticeably in the background.  As Anne said, “It would make a good dinner party entree: interesting enough for the women, but hearty enough for the men.”  As much as I wanted to be insulted by this statement, I couldn’t help but agree.

Thanks, Ina.  And thanks, Paul and Emily, for introducing us to another page in the book of fine Italian dining.

Posted in Recipes, Savory | Tagged , , , , | 6 Comments

Pumpkin Butterscotch Cookies

Ah, pumpkin.  We just can’t get enough.

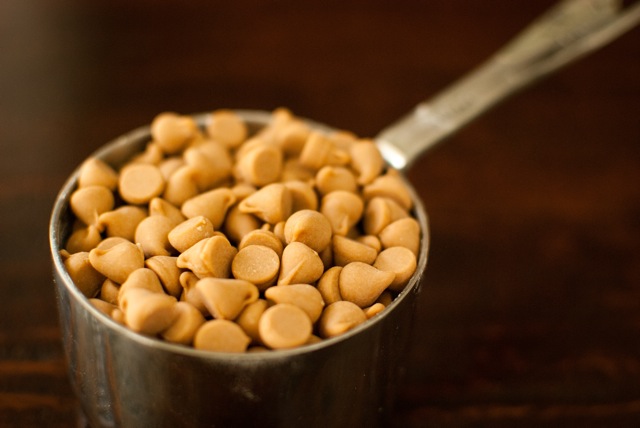
Add in some butterscotch, oatmeal, walnuts, and chocolate chips, and you end up with cookies that present you with the same dilemma: you just can’t get enough.

What we really liked about this recipe, found over on the Blue-Eyed Bakers blog, is that you actually cut the butterscotch chips into the flour.  Genius!

So if you’re looking for another way to pay homage to the great pumpkin, and you like butterscotch (who doesn’t?), you’ll want to give these rich and chunky cookies a try.

Pumpkin Butterscotch Cookies (ever-so-slightly adapted from Blue-Eyed Bakers)

  • 2 cups AP flour
  • 1 teaspoon baking soda
  • 1/2 teaspoon baking powder
  • 1/4 teaspoon ground nutmeg
  • 1/2 teaspoon ground cinnamon
  • 1/2 teaspoon salt
  • 1 cup butterscotch chips
  • 3/4 cup butter, softened
  • 2/3 cup turbinado sugar
  • 2/3 cup light brown sugar
  • 1 egg
  • 2/3 cup pumpkin puree
  • 1 cup rolled oats
  • 1 1/2 cups semi-sweet chocolate chips (Blue-Eyed Baker uses white chocolate chips)
  • 1 cup walnuts, chopped and lightly toasted

Chop up the walnuts, spread them on a cookie sheet, and lightly toast them in the oven.  Under the broiler they are usually done in under three minutes – so watch them closely, and stir them around every 30 seconds or so.  You just want to bring those oils out.  Set the toasted walnuts aside to cool.

In a food processor, combine the flour, baking powder and soda, nutmeg, cinnamon, salt, and butterscotch chips.  Pulse until the chips have been pulverized into a powder – you can tell this has been accomplished by the smooth hum of the blade, indicating that it has eliminated all the larger chunks.  Set aside the dry mixture.

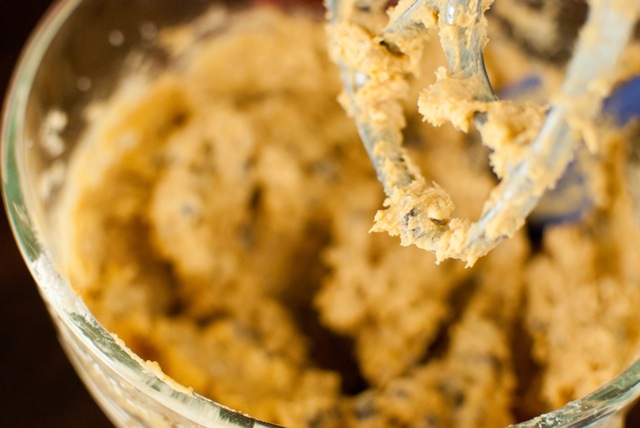
In a mixer fitted with the paddle attachment, cream the butter and sugars, then mix in the egg and pumpkin until well combined.  Now, with the mixer on low, slowly add the dry mixture to the wet, mixing just until the dry ingredients are combined (don’t overmix!).  Finally, add the oats, walnuts, and chocolate chips and mix on low just until combined.

Chill the dough for at least an hour, overnight is better.  Use an ice cream scoop to place lumps of dough on a greased or parchment-lined cookie sheet, and bake in a 350 degree oven for 12 – 14 minutes, or until golden brown.

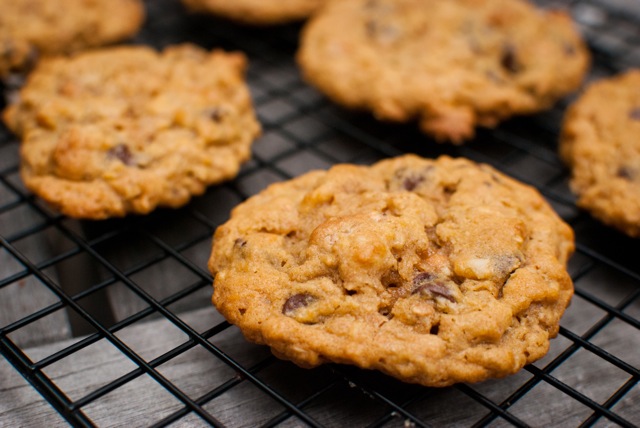
Oh man, these are good.  The butterscotch flavor is dominant, accompanied by the occasional gooey chocolate, with shadows of oatmeal and pumpkin playing in the background.  The walnuts add a great chunky texture, making this a hearty cookie.

Did we mention that they were rich?  You’ll want to have a glass of whole milk close by!

And, they’re baby approved*, so give them a try!

* Editor’s Note to the Grandparents: This picture was staged.  We did not actually feed cookies to our 4 month old.  

Posted in Uncategorized | 5 Comments

Pumpkin Doughnuts


We just love the Fall, and – like so many food lovers – we tend to go pumpkin crazy.  I mean, obsessively so.  Last year when there was the purported “great pumpkin shortage of 2010,” we went to several grocery stores buying as many cans of pumpkin as they would allow us to.  Jason was at Home Depot the other day picking up, you know, Home Depot type stuff, but noticing the huge piles of pumpkins out front, he of course came home with three.  We just can’t get enough.

We’ve already made our favorite pumpkin bread twice since the temperature first dropped below 60 degrees a couple weeks ago.  We thought about making some yummy pumpkin scones, but it was time for a new blog post, so time for a new pumpkin recipe.

With so many sweet pumpkin treats out there, we resolved to make a savory pumpkin recipe.

So, naturally, we picked doughnuts.  Ooops.

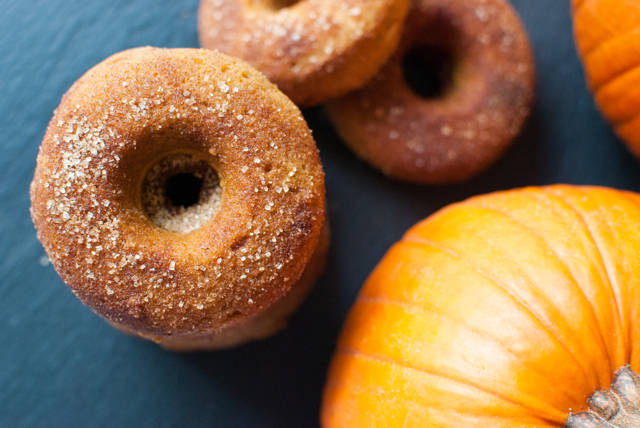
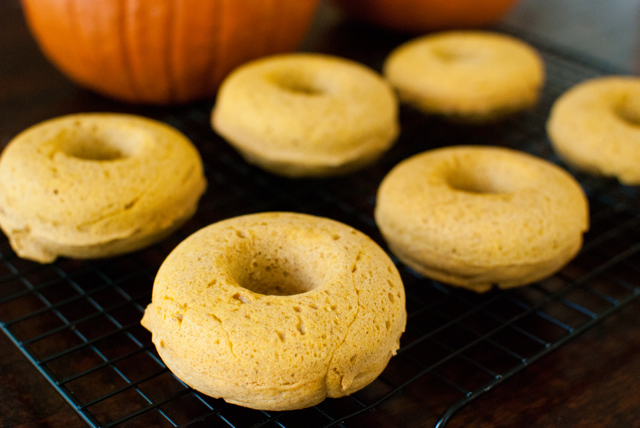
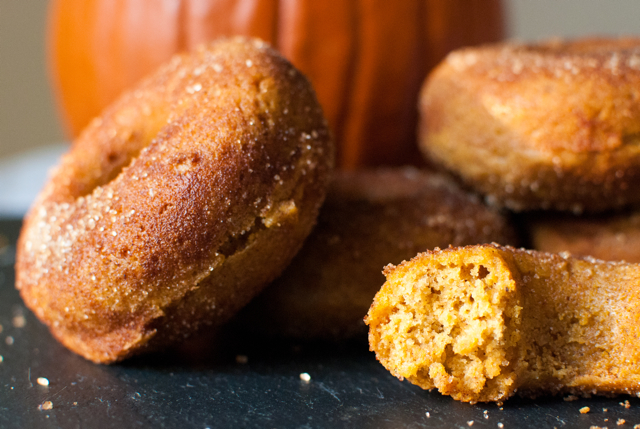
Don’t even think twice, just make these doughnuts.  They are incredible.  They will change your life, well, at least your night.  You will eat three of them while sitting on the floor photographing the rest.  You will decide that it’s a good idea to take a picture of one that has been bitten into, so you will bite into another one, then you will go ahead and finish it off as well.

By the way, you can also make these in a muffin pan, but if you want to join the fun, buy a doughnut pan.  Then get started!

Pumpkin Doughnuts (from Blue-Eyed Bakers website)

For doughnuts:

  • 1 3/4 cup AP flour
  • 1 1/2 teaspoons baking powder
  • 1/2 teaspoon salt
  • 1 teaspoon cinnamon
  • 1/2 teaspoon nutmeg
  • 1/2 teaspoon allspice
  • 1/4 teaspoon ground cloves
  • 1/3 cup vegetable oil
  • 1/2 cup light brown sugar
  • 1 egg
  • 1 1/2 teaspoon vanilla extract
  • 3/4 cup canned pumpkin
  • 1/2 cup whole milk

For coating:

  • 1/2 cup butter, melted
  • 2/3 cup sugar
  • 3 tablespoons cinnamon

Preheat your oven to 350 F.  Spray your doughnut pan with Pam or butter liberally.

In one bowl, sift together the flour, baking powder, salt, and spices.

In a second, larger bowl, whisk together the oil, brown sugar, vanilla extract, pumpkin, and milk until well mixed.  Gradually whisk the dry ingredients into the wet until just combined.

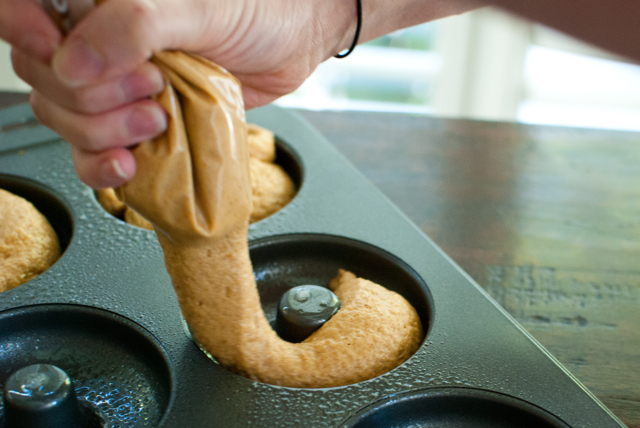
Transfer the batter to a ziplock bag and cut off the corner, then fill each doughnut cup almost fully, but not to overflowing.  Smooth out the batter with a skinny spatula if needed.

Bake for 14 – 17 minutes, or until the doughnuts spring back when pressed gently.  Carefully turn each doughnut in the pan to free it, then transfer the doughnuts to a wire rack to cool.

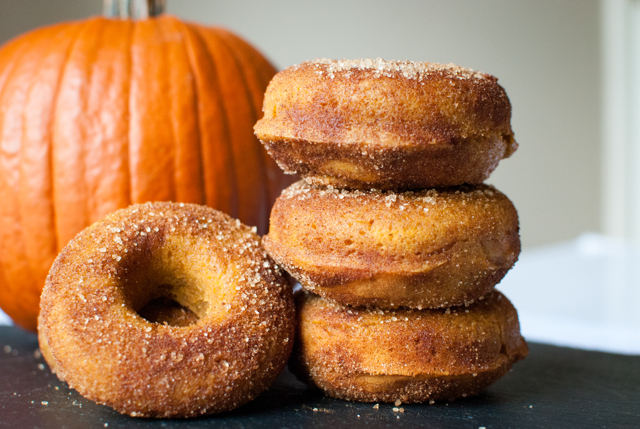
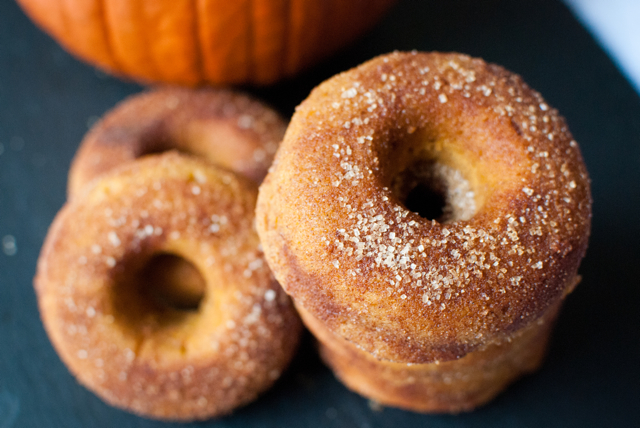
While the doughnuts are cooling, melt the stick of butter in one bowl and whisk together the cinnamon and sugar in another.  Dip each doughnut in the butter, then coat with the sugar/cinnamon mixture.  Consume immediately!

You’ll never want to eat another fried doughnut after devouring a few of these.  They are puffy and cakey, and wow, the pumpkin flavor comes through so perfectly.

So, maybe next time we’ll make something savory with pumpkin.  Maybe.  There is a pumpkin cookie recipe, though, that’s calling our name . . .

Posted in Uncategorized | 6 Comments